

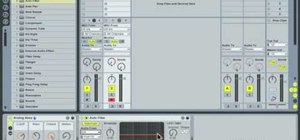
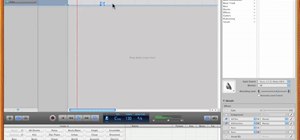
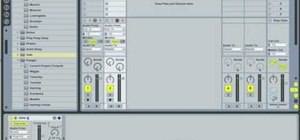
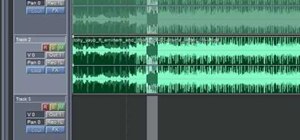
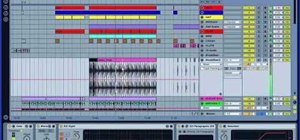
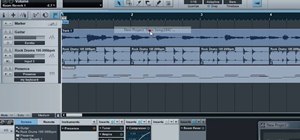
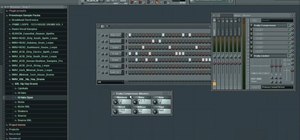
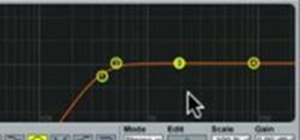
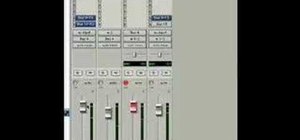
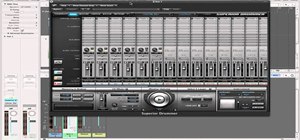
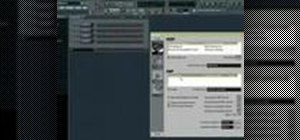
Open your program to a new live set. By using three keys (in Ableton Live), Command (Ctrl), Shift and t, you can create a short cut. Create two new midi tracks making one for (side chain) bass and one for (side chain) kick. To rename a track choose the two keys Command (Ctrl) and r. Next, you can load up the presets, located on the side bar list, one a bass, and, then a basic kick drum by opening up impulse, electronics and Tremor 1994. Now create a couple of patterns. To do this go an empty box (clip in the clip track), double click to highlight which box then right click the mouse bringing up a note box (clip queue) and select quarter etc. This will create a one bar loop. Into the four boxes that form you can designate a unique pitch for each. You select a note for a bar in the same fashion from the queue menu. To improve the sound quality of your work goes to audio effects in the left bar menu, click and drag an auto filter to rest in your bass track box. Enable the side chaining function next by clicking on the downward facing black triangle in the program and then clicking the side chain button. Now, under Kick Track, choose draw audio from. In the black area you will be manipulating the filter frequency next by choosing the Hertz. He leaves a bump here before proceeding to tweak the envelope parameter, preview and then tweak the game, attack and release parameters to your liking. The final step is manipulating the cut off frequency until you hit a good spot. This will complete your side train bass track that can be used with almost any music track you choose.
Just updated your iPhone? You'll find new emoji, enhanced security, podcast transcripts, Apple Cash virtual numbers, and other useful features. There are even new additions hidden within Safari. Find out what's new and changed on your iPhone with the iOS 17.4 update.


Be the First to Comment
Share Your Thoughts