how to
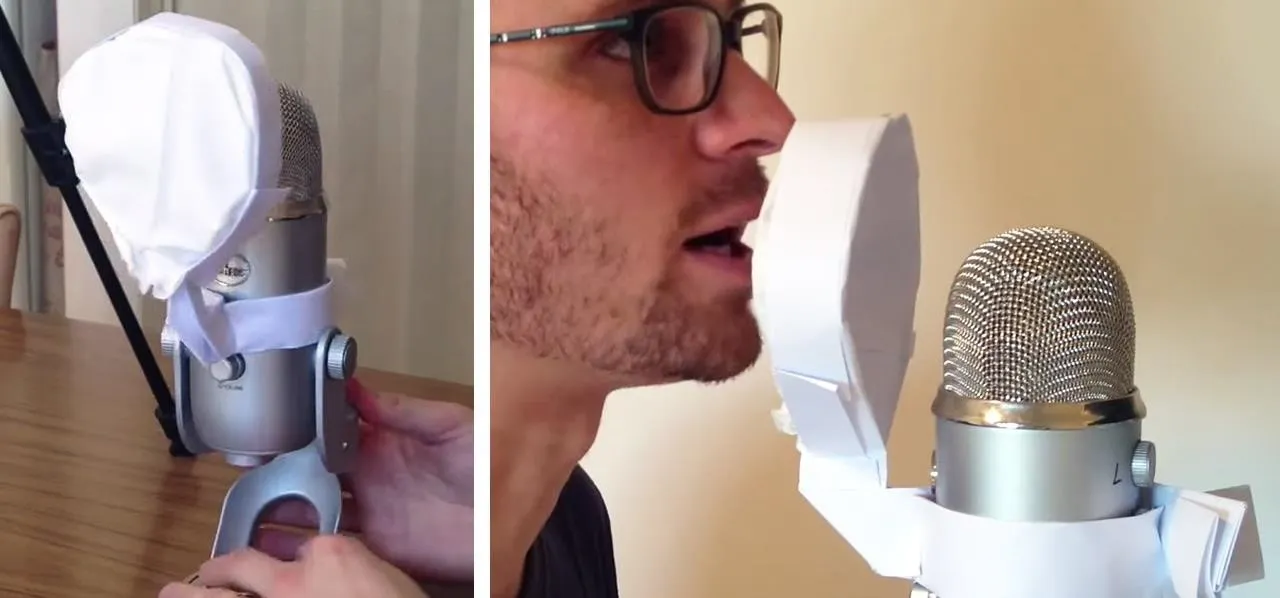
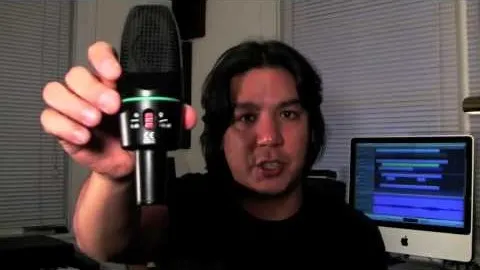
Make a Free Microphone Pop Filter Entirely Out of Paper in 5 Minutes
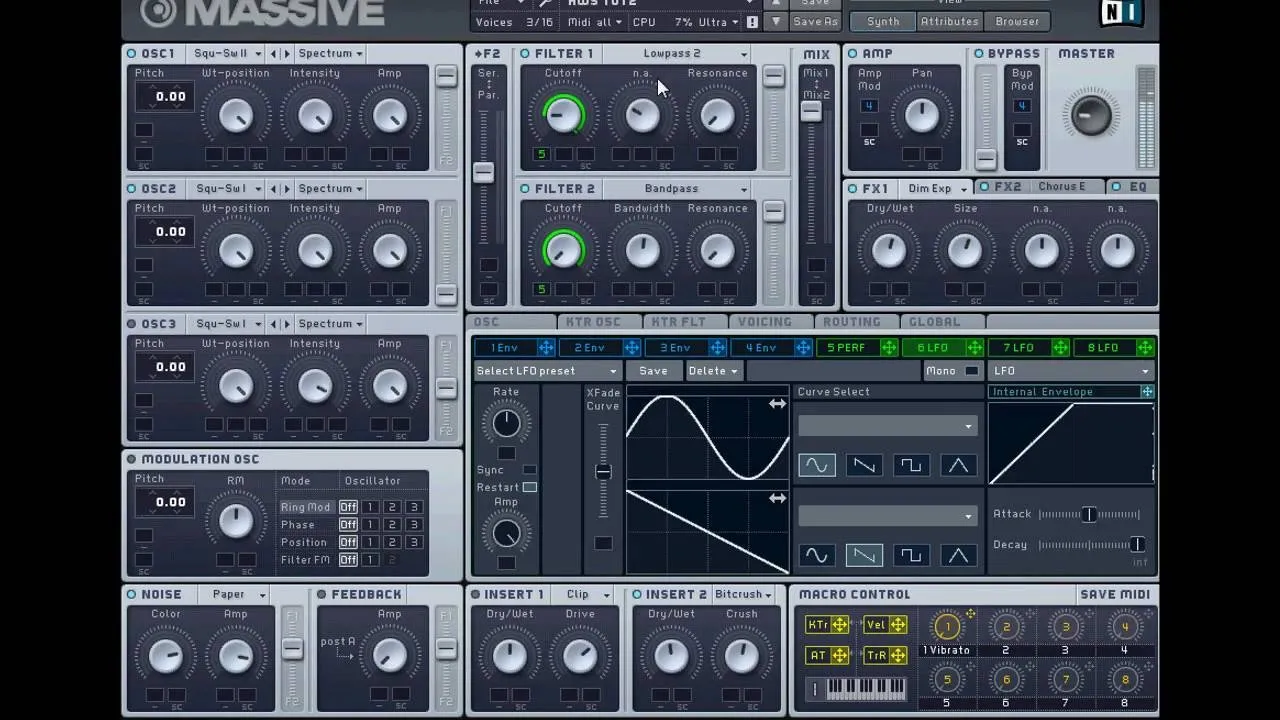
how to
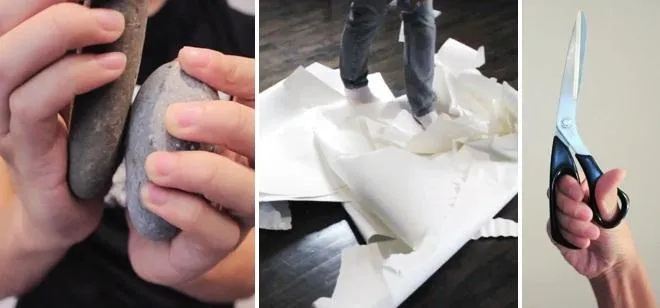
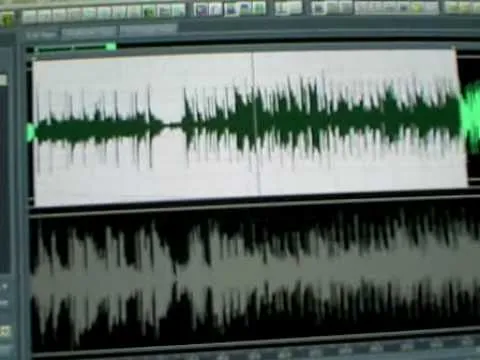
How to Make a Cool Synth Beat from Rock, Paper, Scissors, or Any Other Recorded Sound
how to
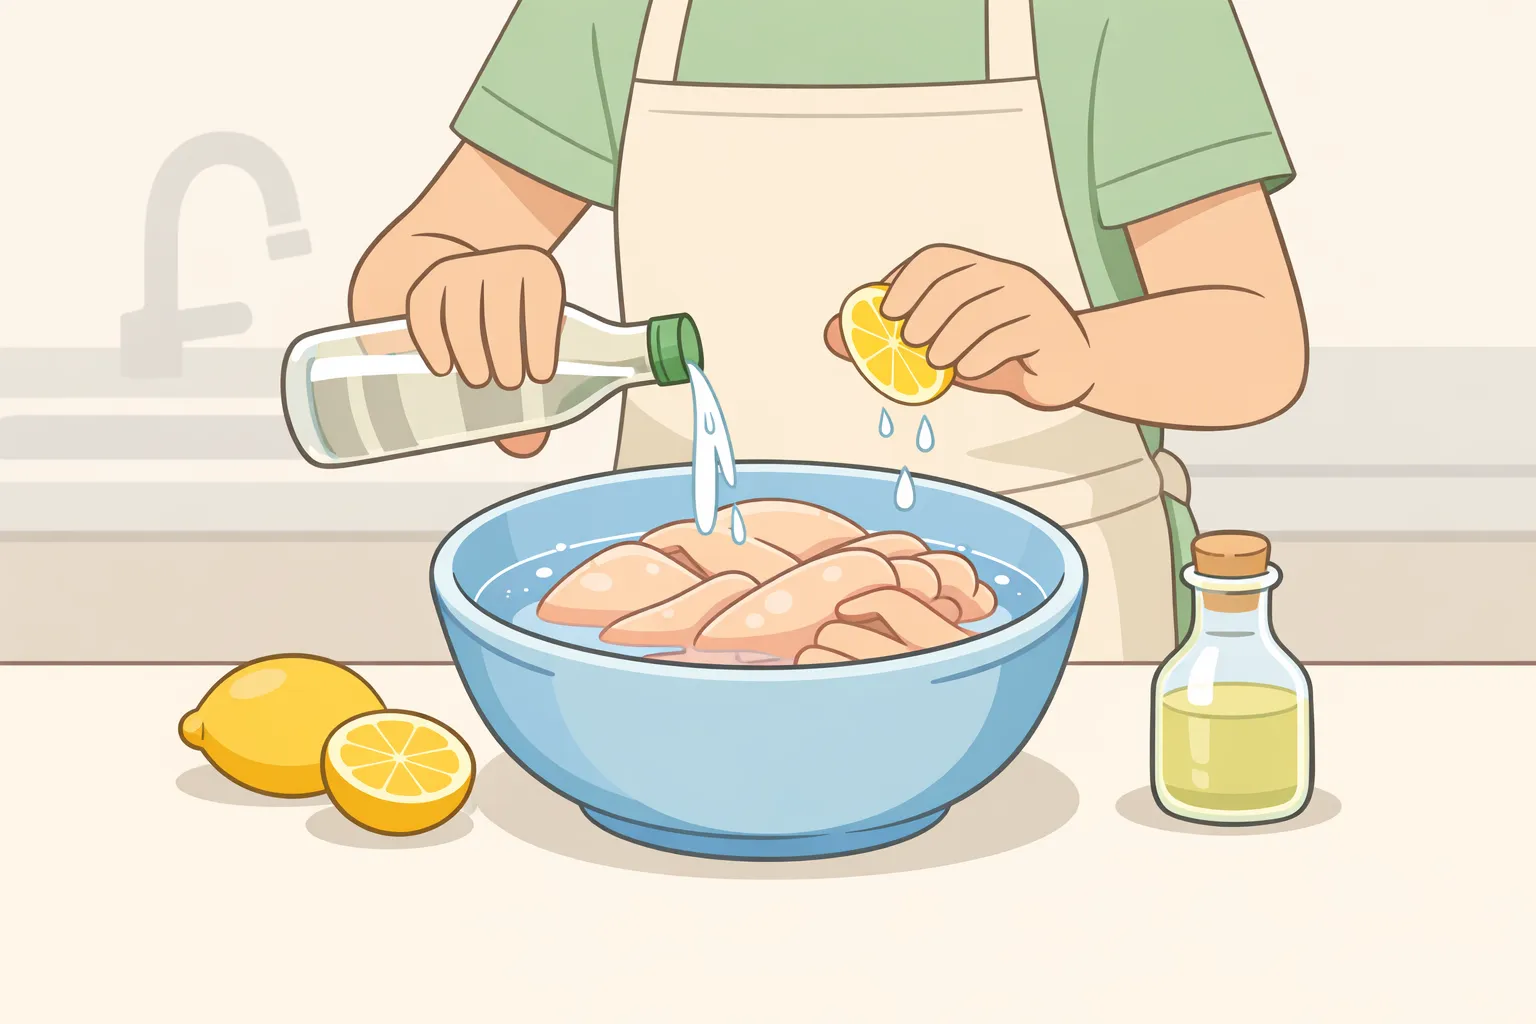
Water, Lemon Juice, Vinegar, or Nothing: Should You Even Bother Rinsing Chicken?


Featured On WonderHowTo:
Productivity & Shortcuts


Featured On WonderHowTo:
Music & Audio


Featured On WonderHowTo:
Augmented Reality


Featured On WonderHowTo:
Gaming