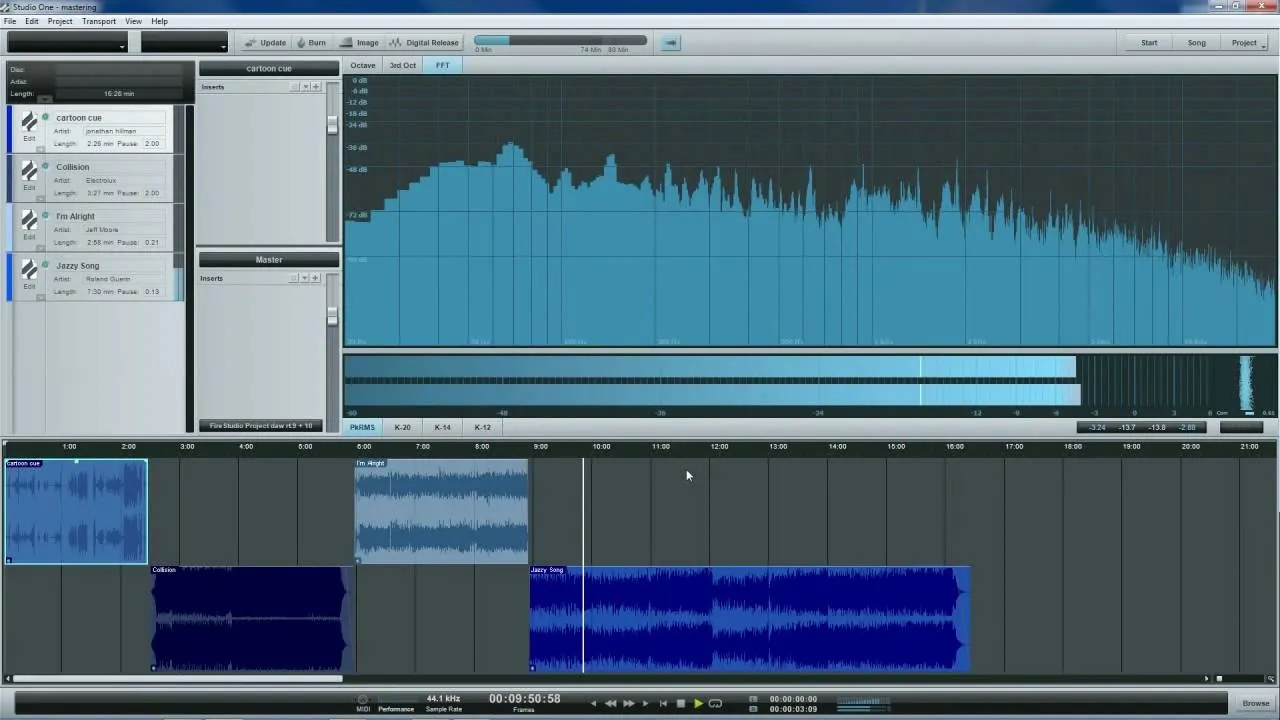
How-To Guides about Recording & Production

how to
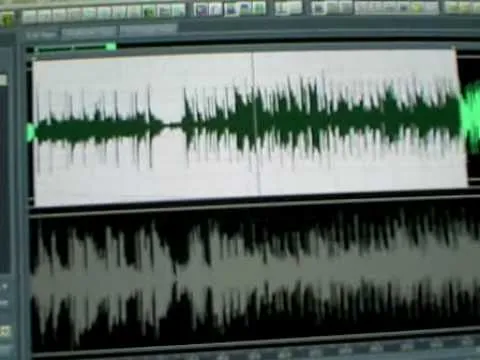
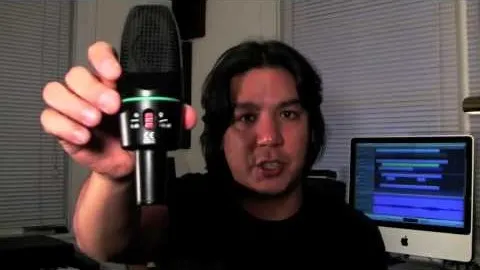
How to Remove Vocals from a Recording
how to
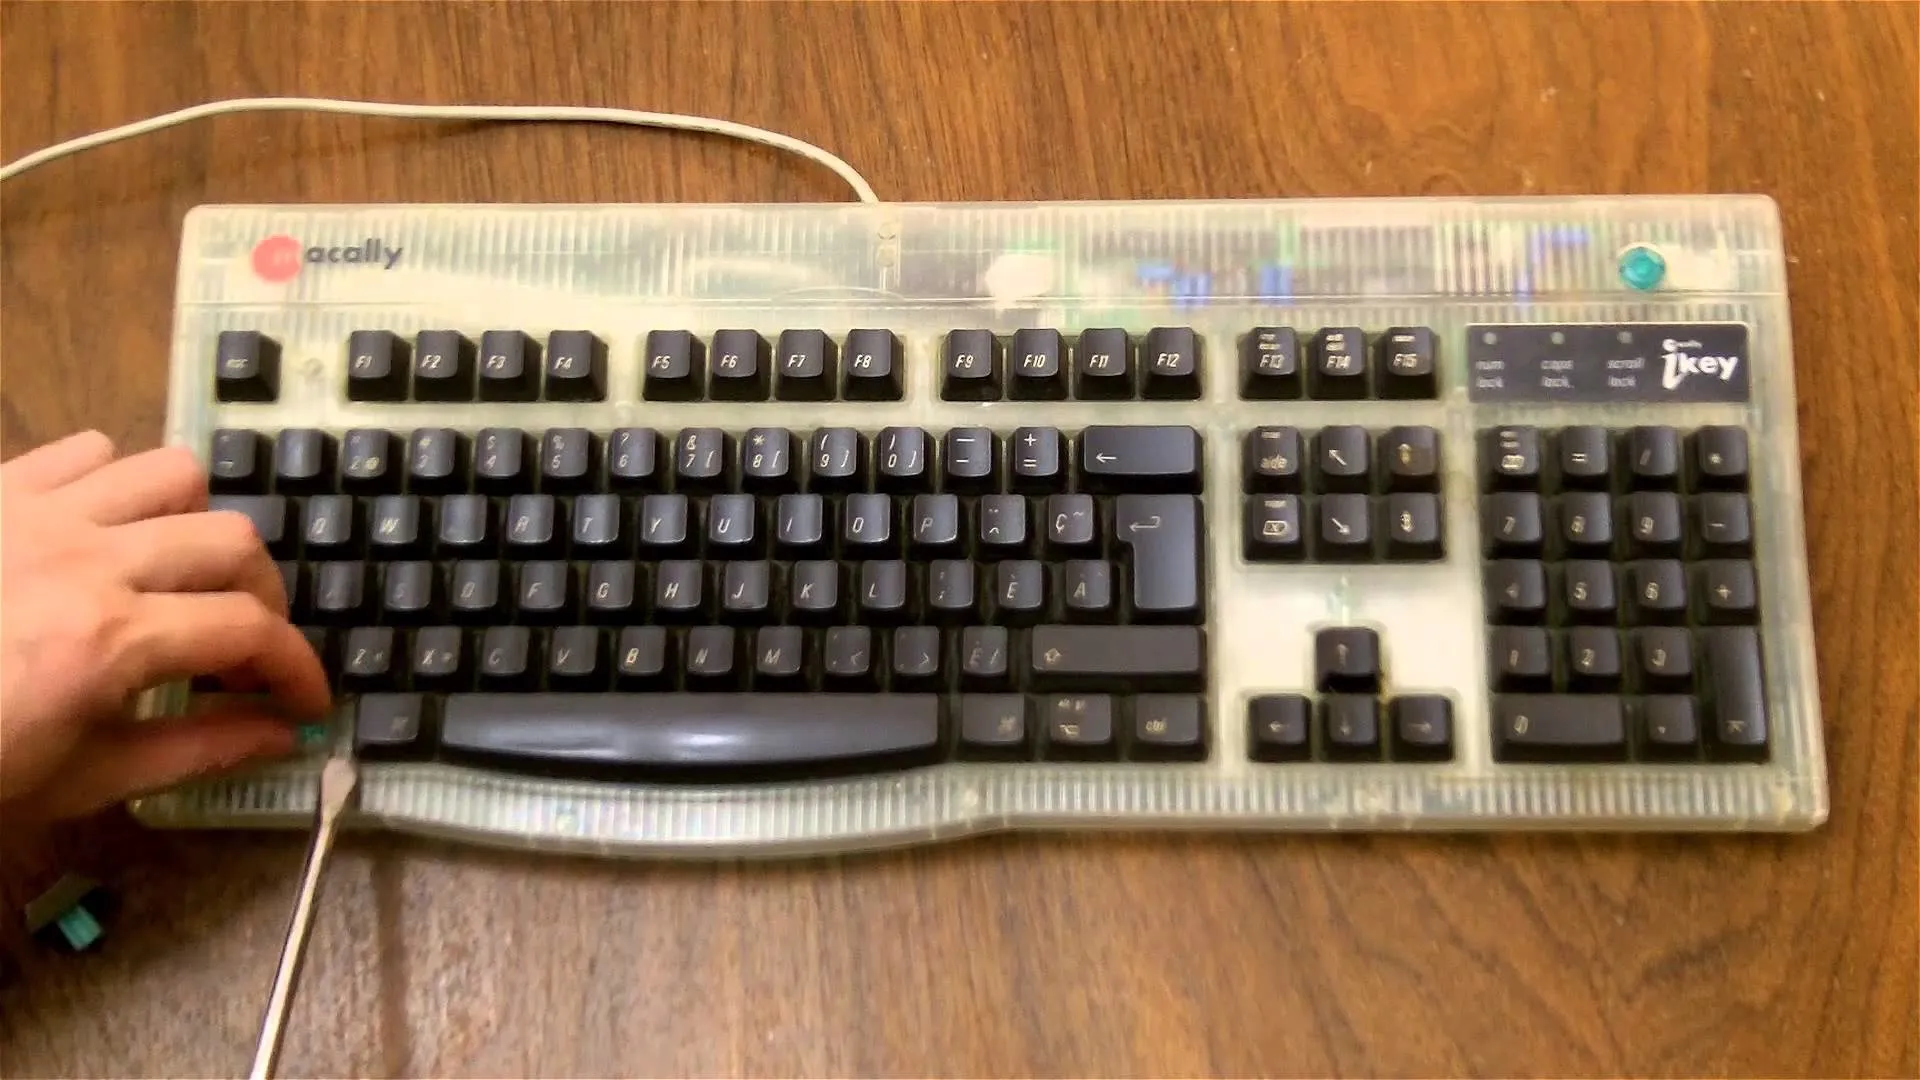
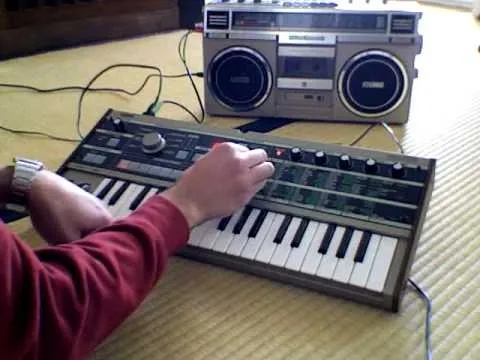
How to Build a Foot Switch with a Keyboard
how to
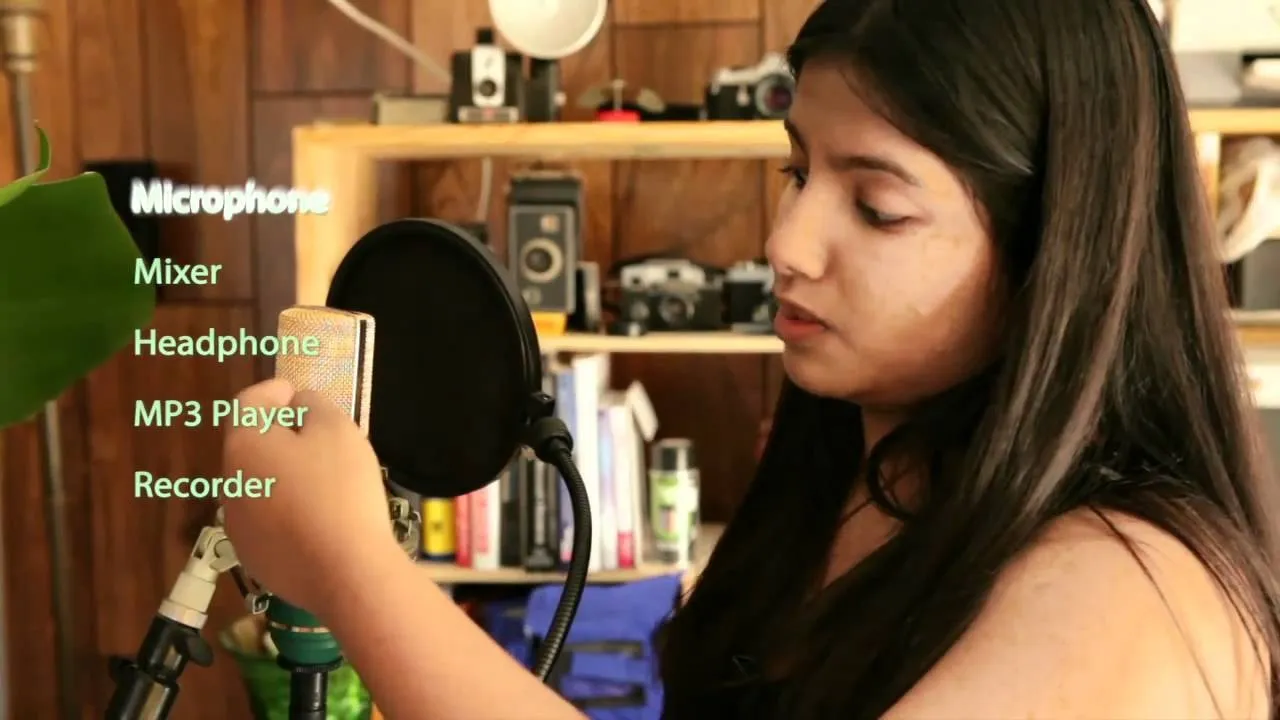
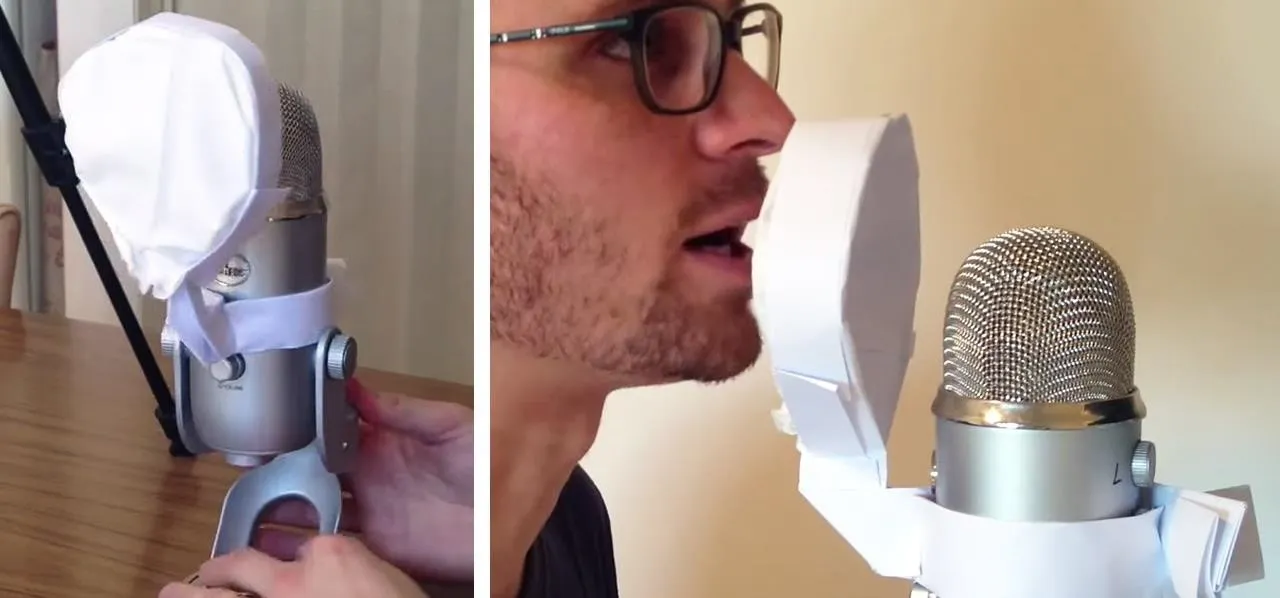
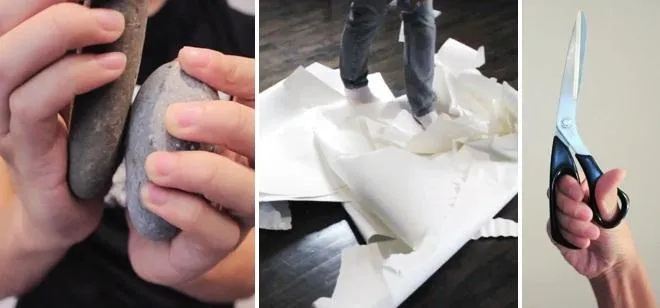
Make a Free Microphone Pop Filter Entirely Out of Paper in 5 Minutes


Featured On WonderHowTo:
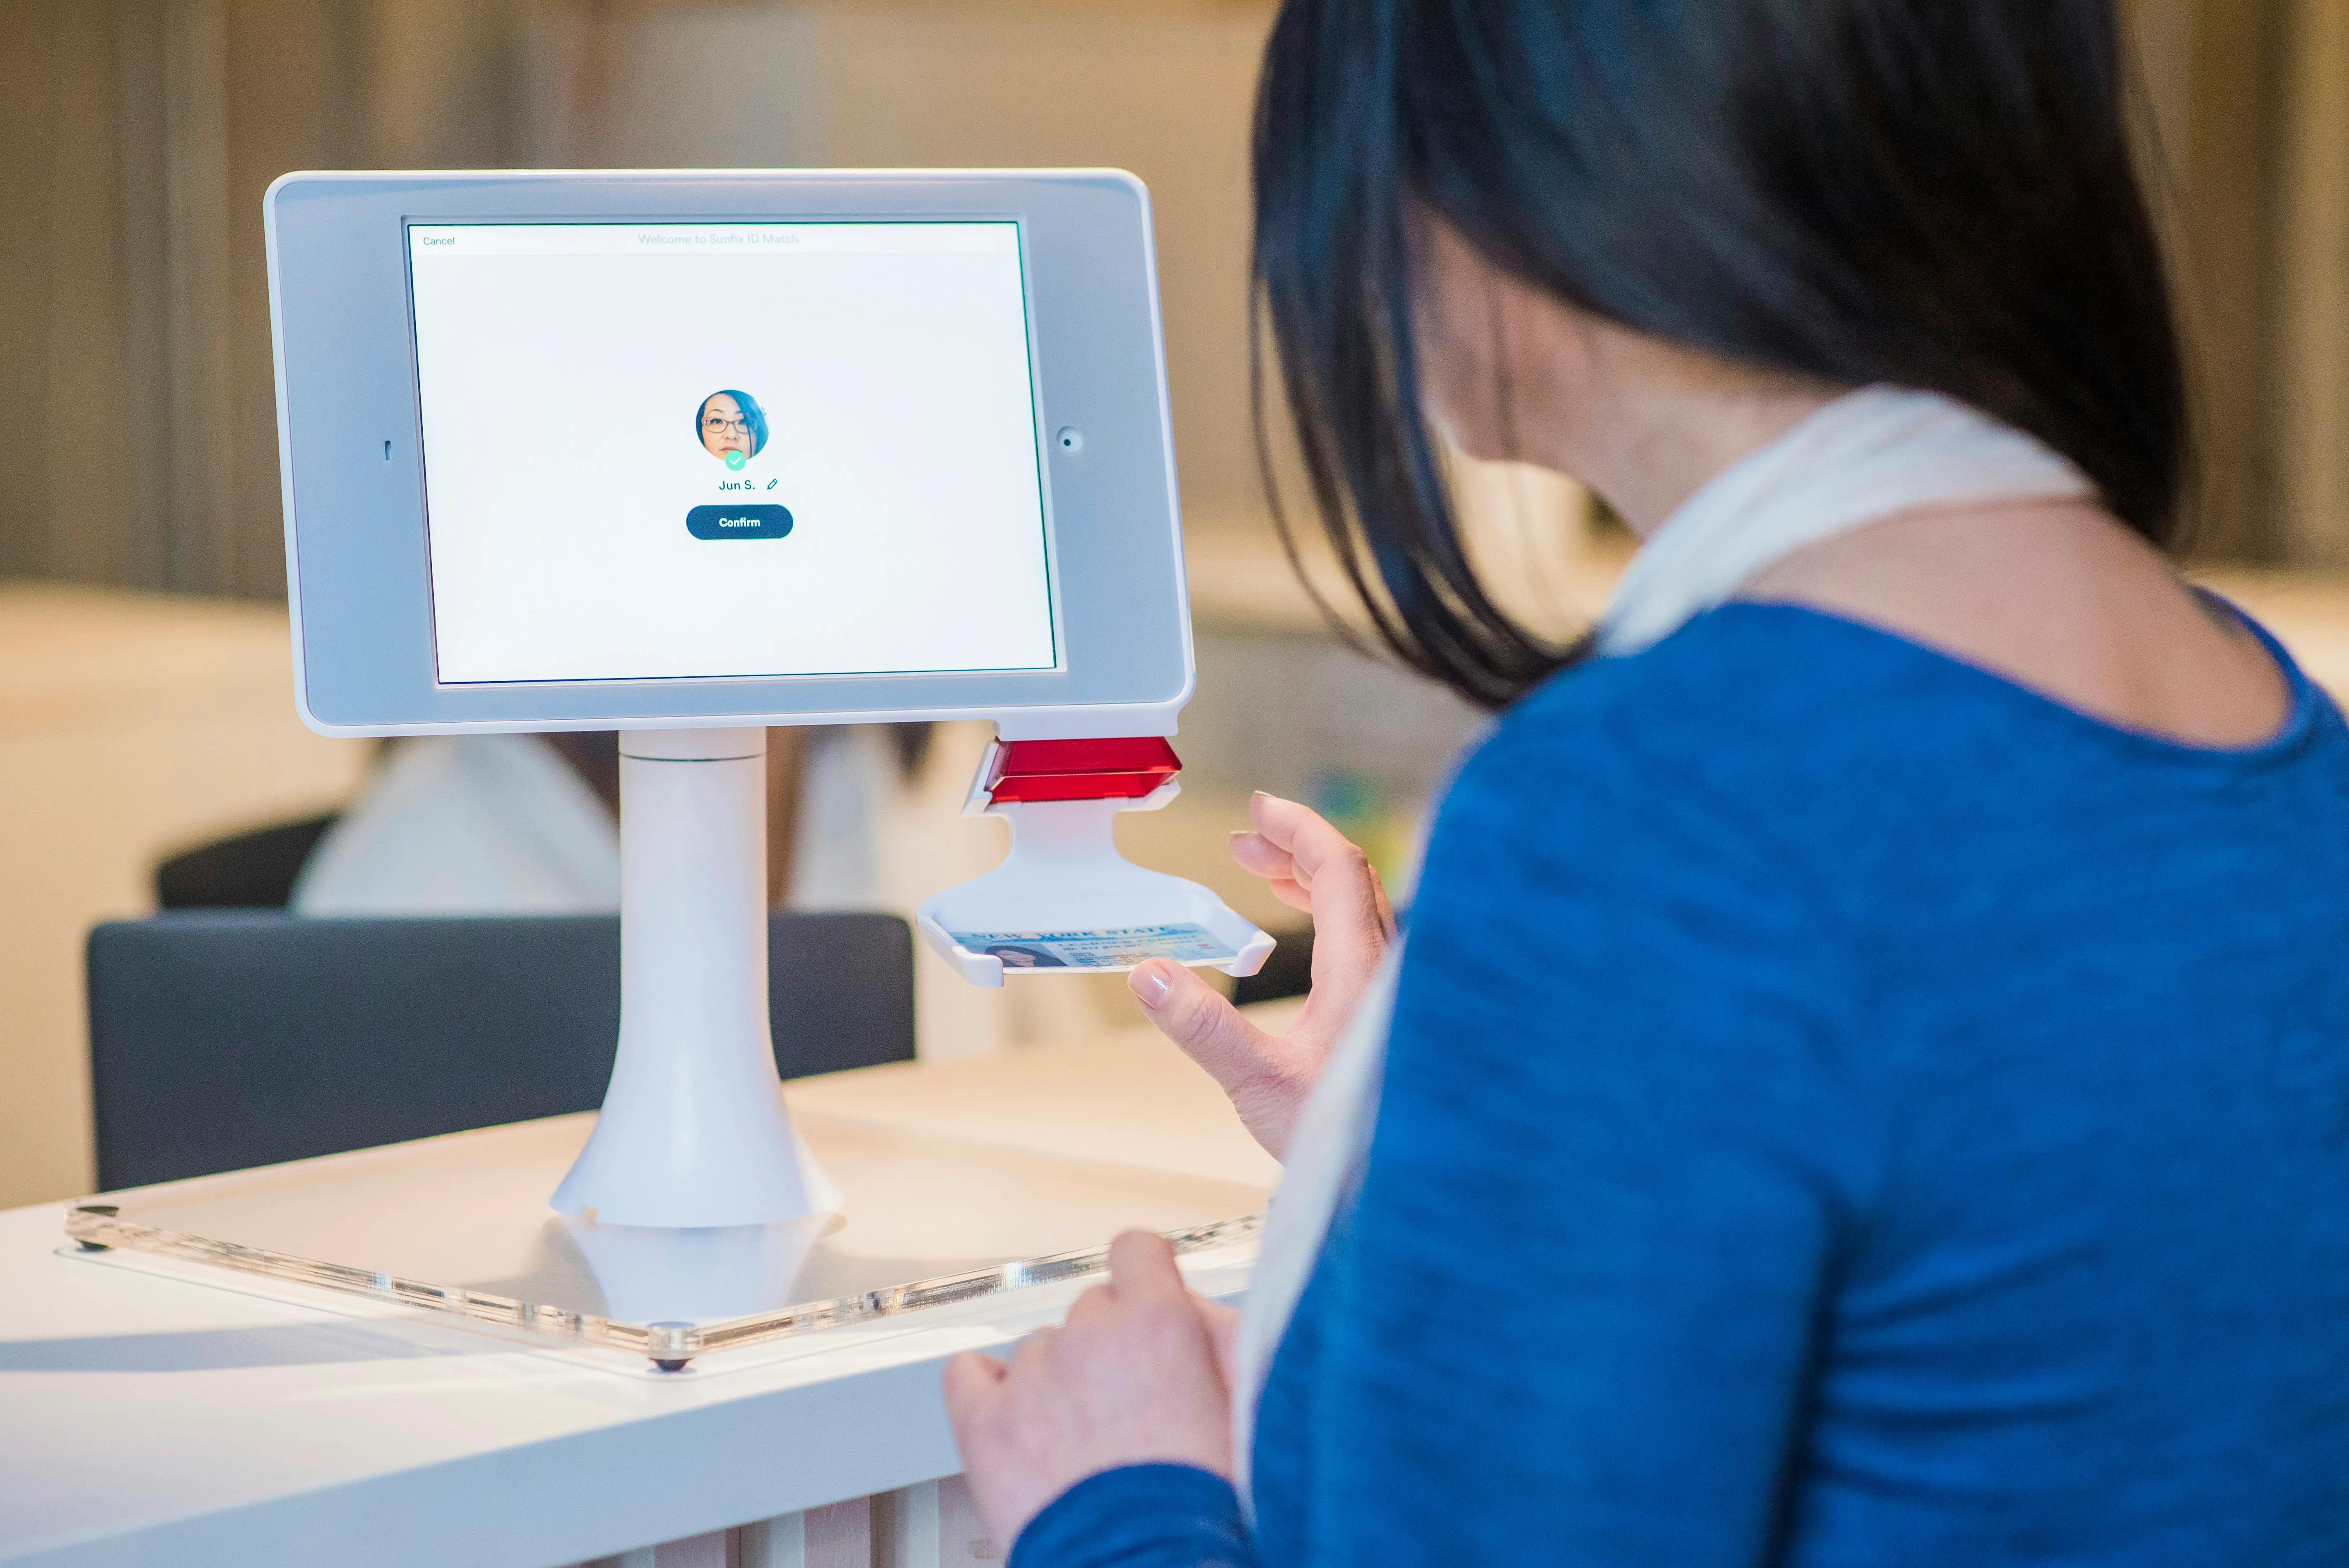
Productivity & Shortcuts


Featured On WonderHowTo:
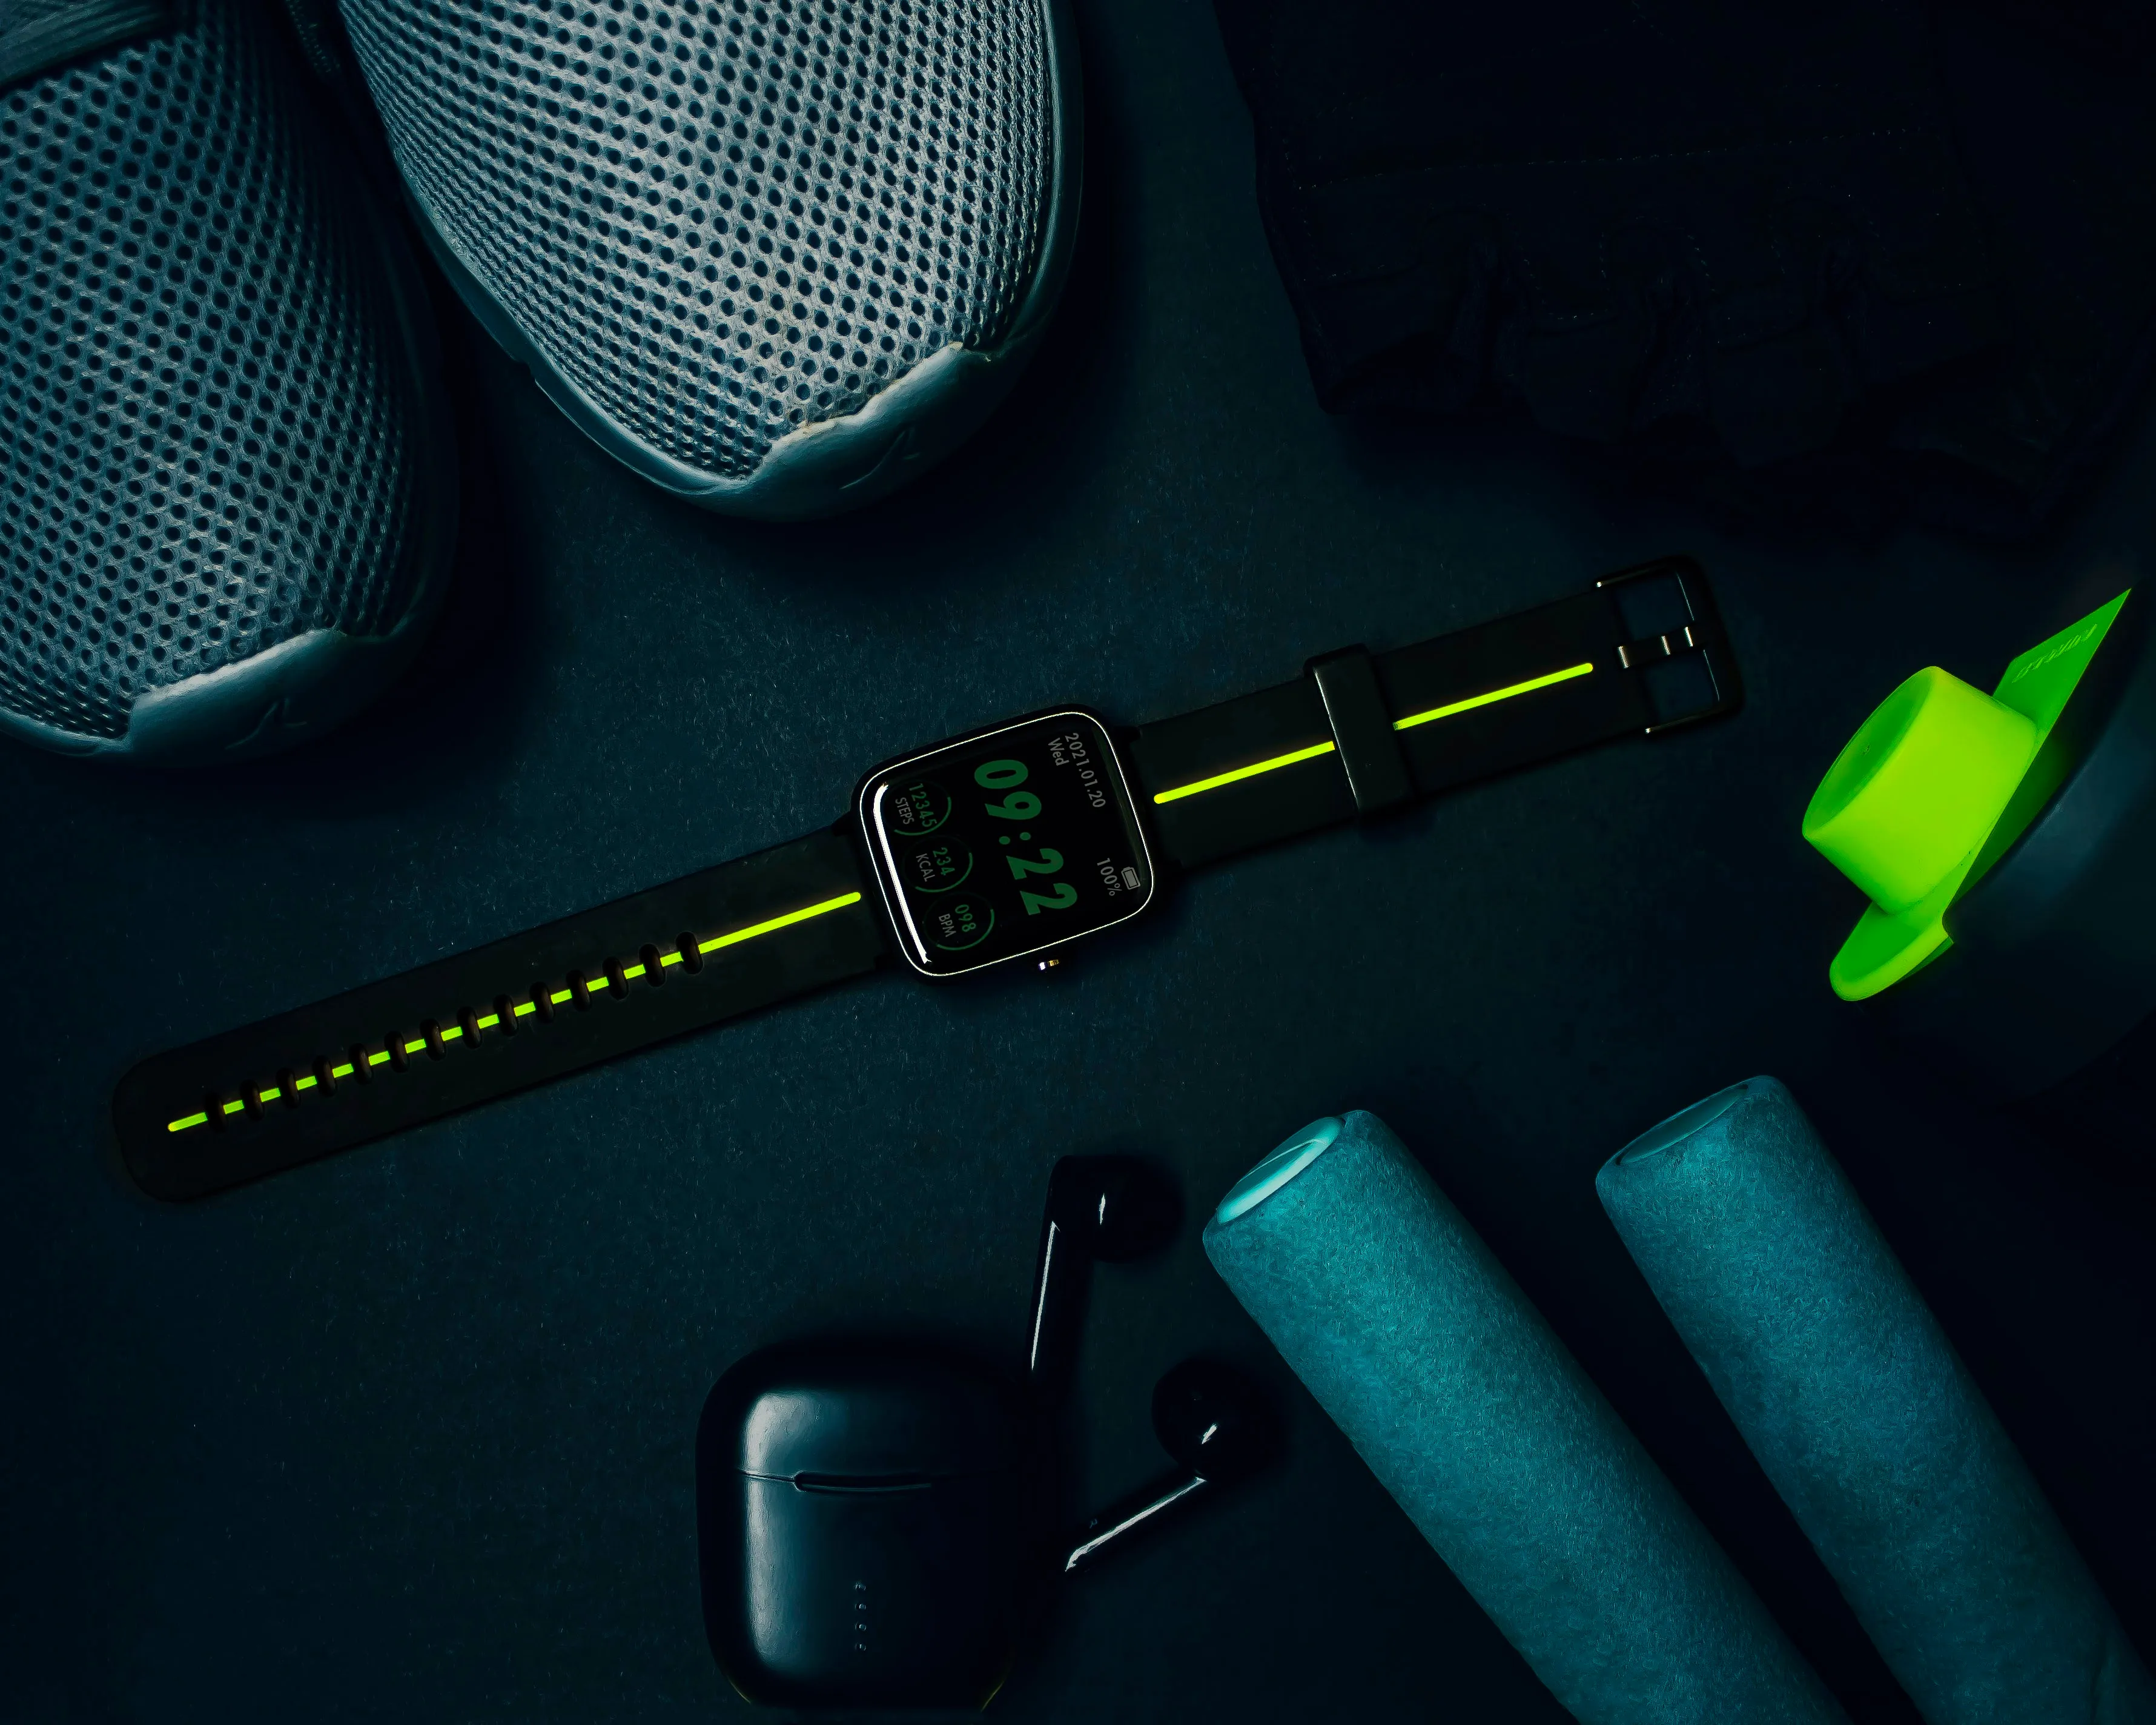
Music & Audio


Featured On WonderHowTo:
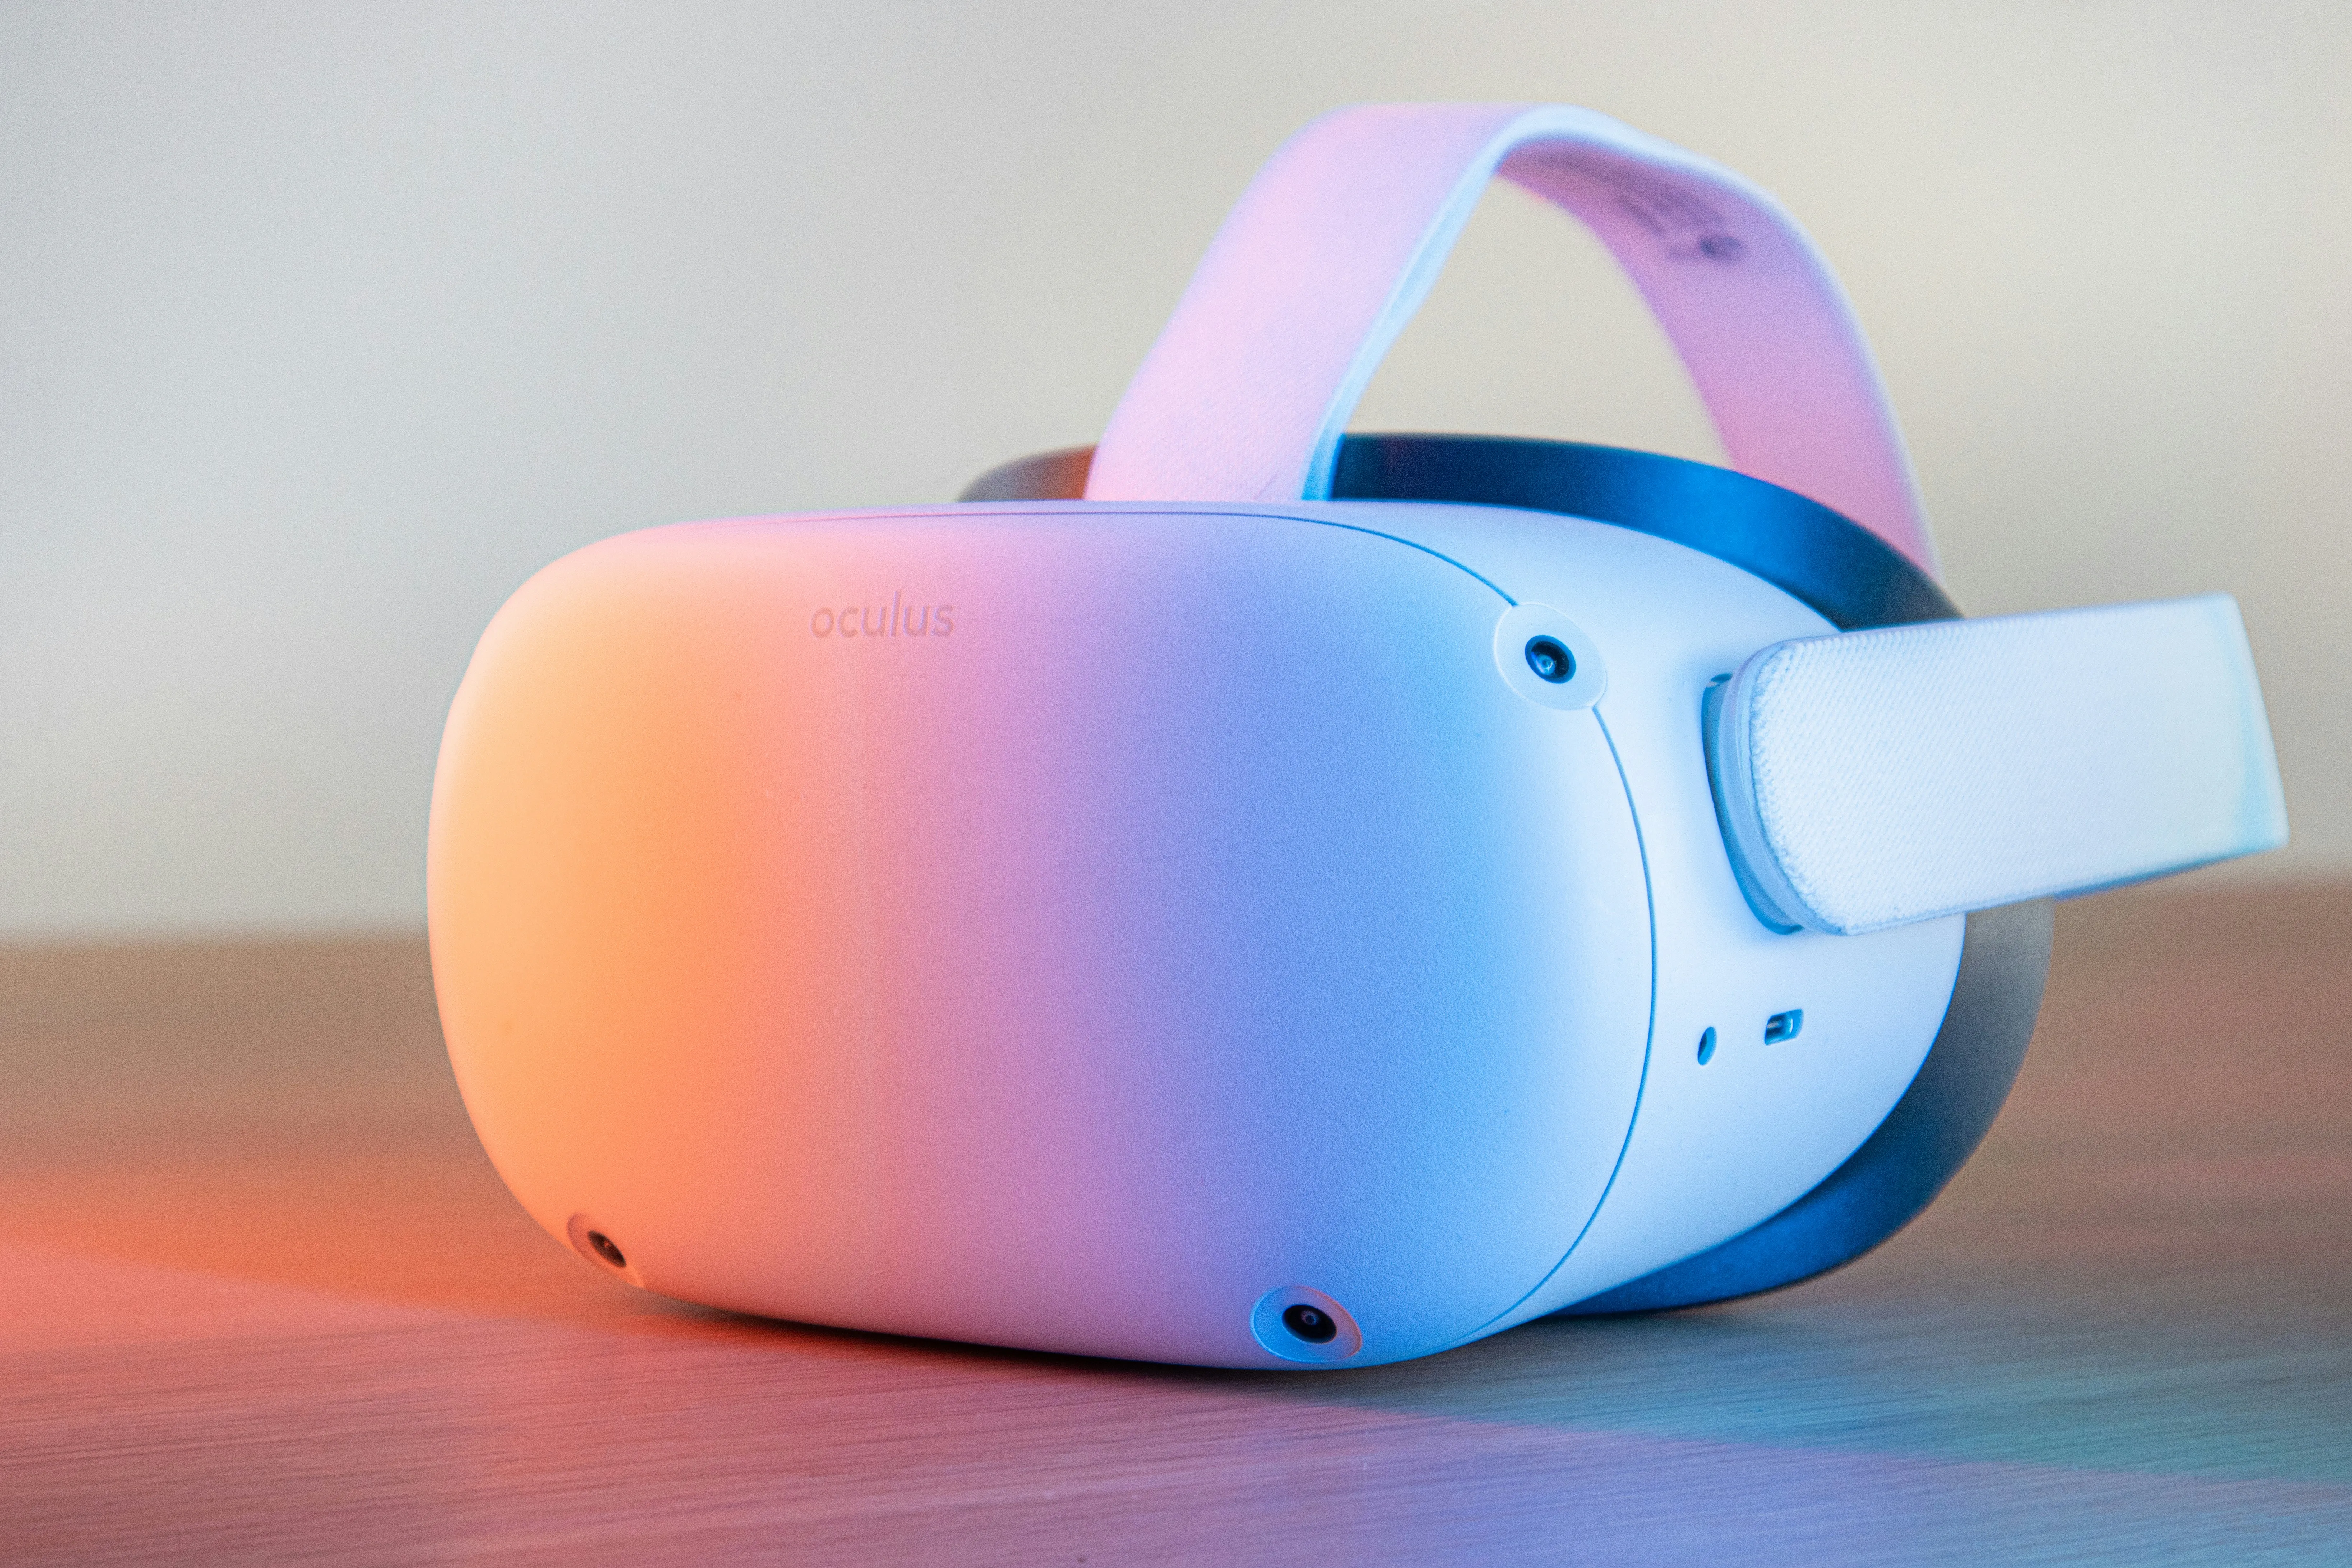
Augmented Reality


Featured On WonderHowTo:
Gaming